Get Started with Google Cloud
Having our own machine in the cloud sounds good to the IT professionals, but most of us, only meant with the use of a computer system, and never pay attention to these solutions. in our professional life, we own a computer system and run with daily needy programs.
You need a google account and billing setup to start with the google cloud, and it features. Once you are ready with the billing setup and account polishing, it will ready to explore the GCP.
Login to the GCP and it will take you to dashboard.
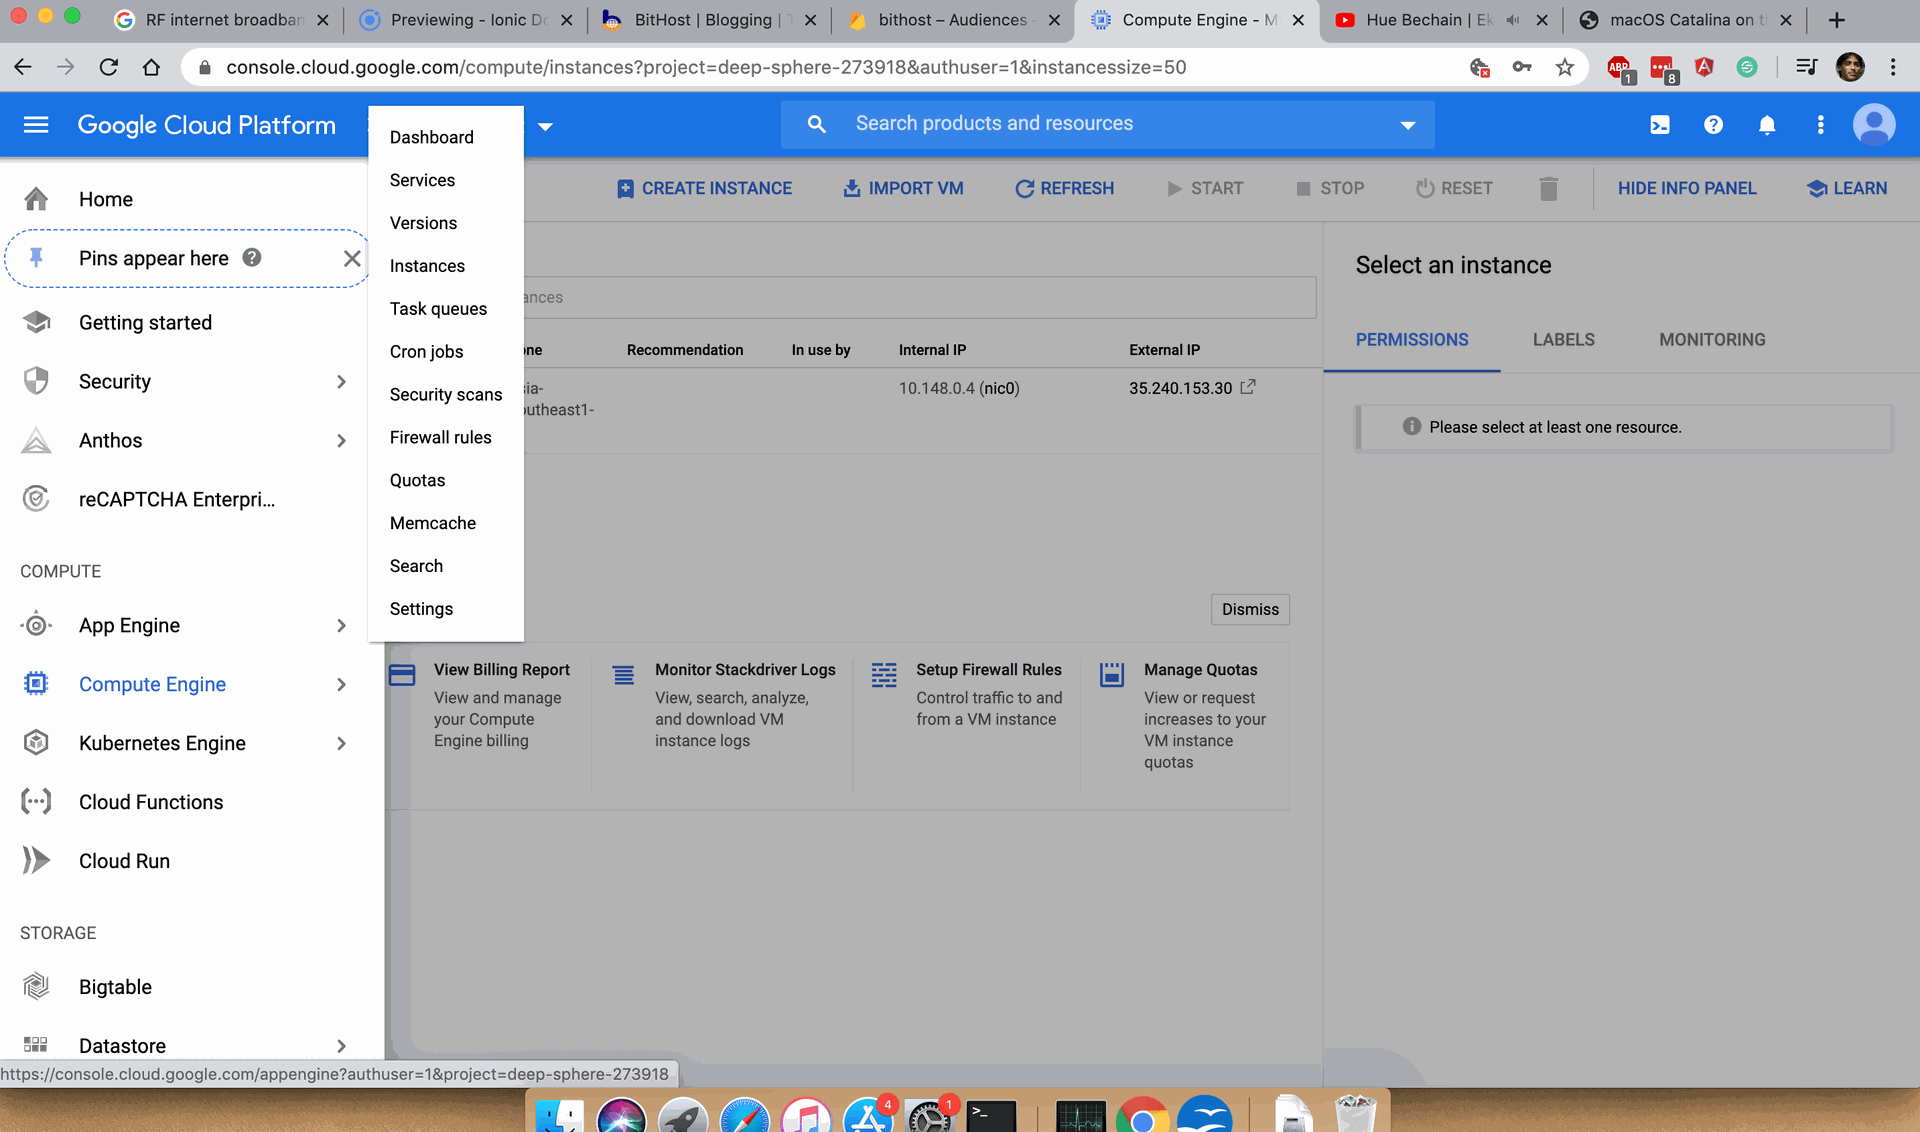
Navigate to the Compute Engine From the left side panel.
Now Click on Create Instance to initiate the instance creation process.
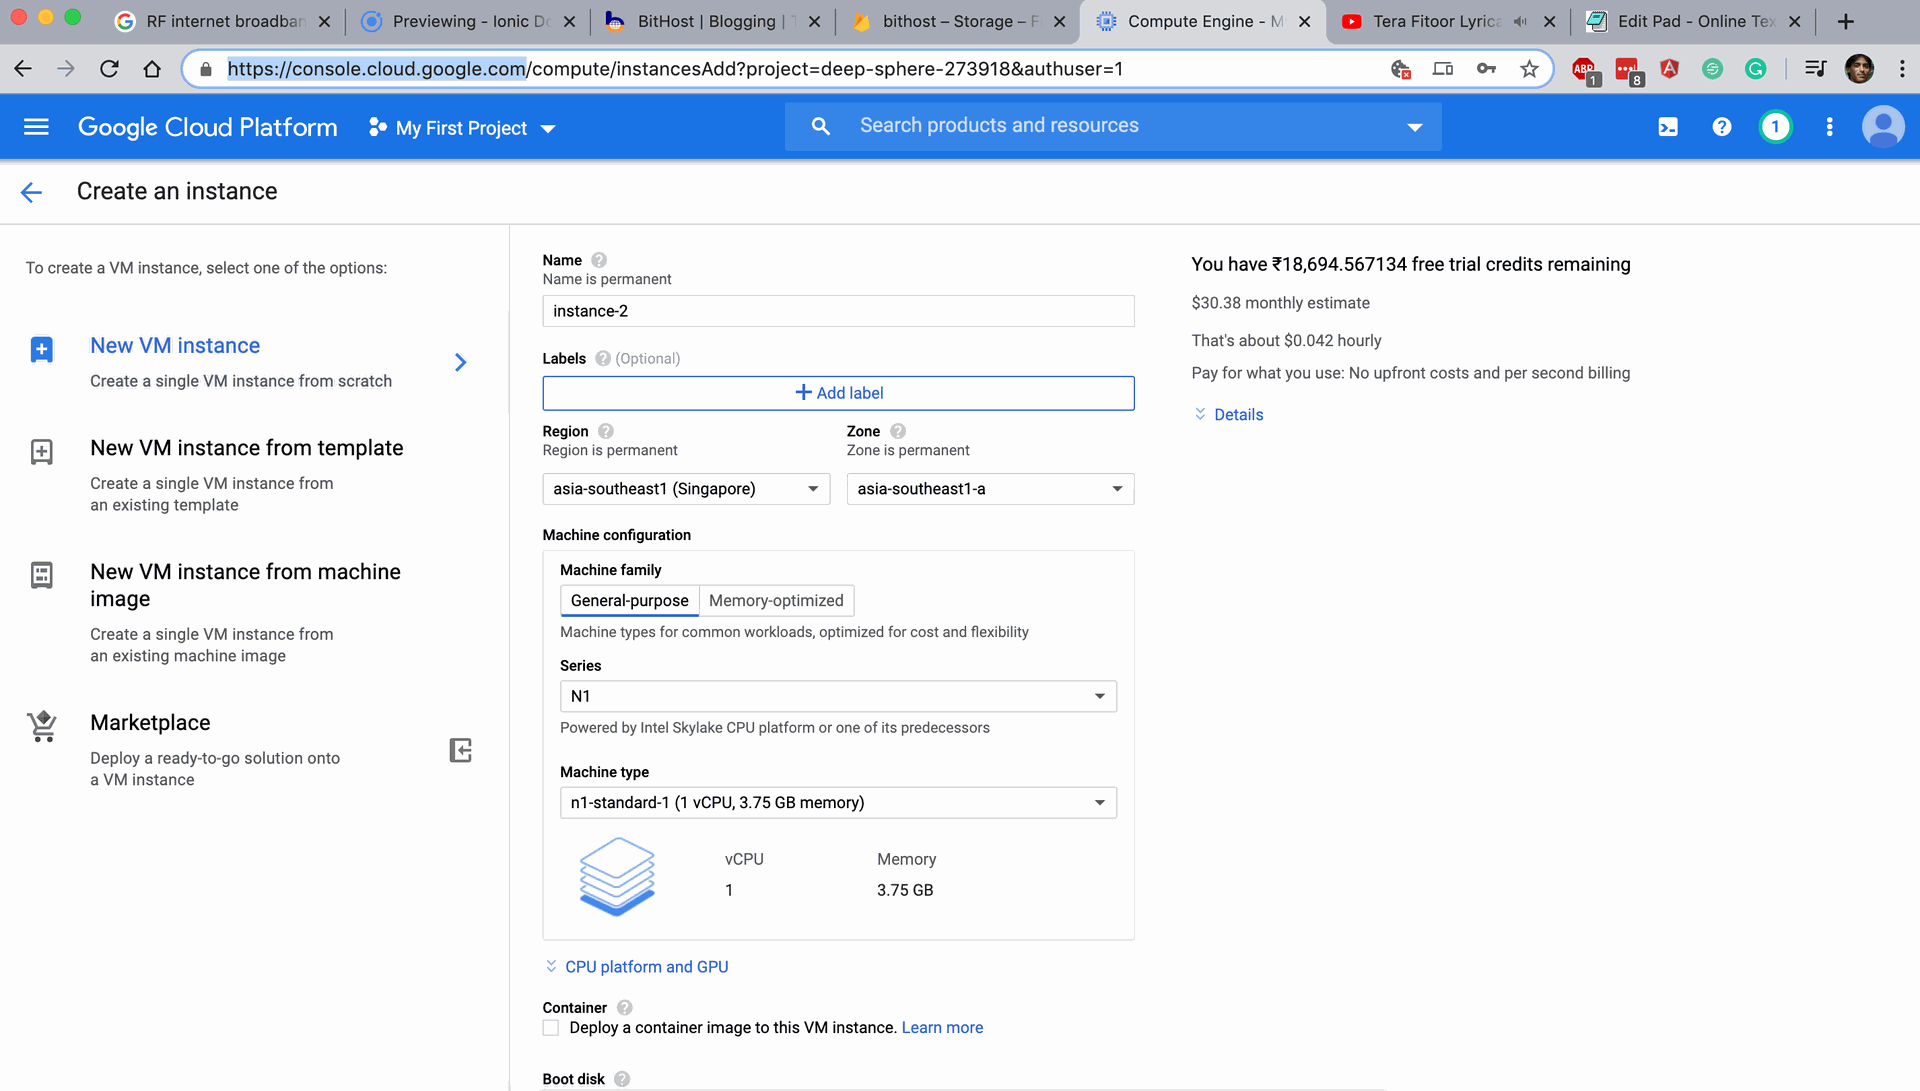
Scrolling down you will get more screens, to fill the details of the instance flavour. Like which boot OS you are going to use.
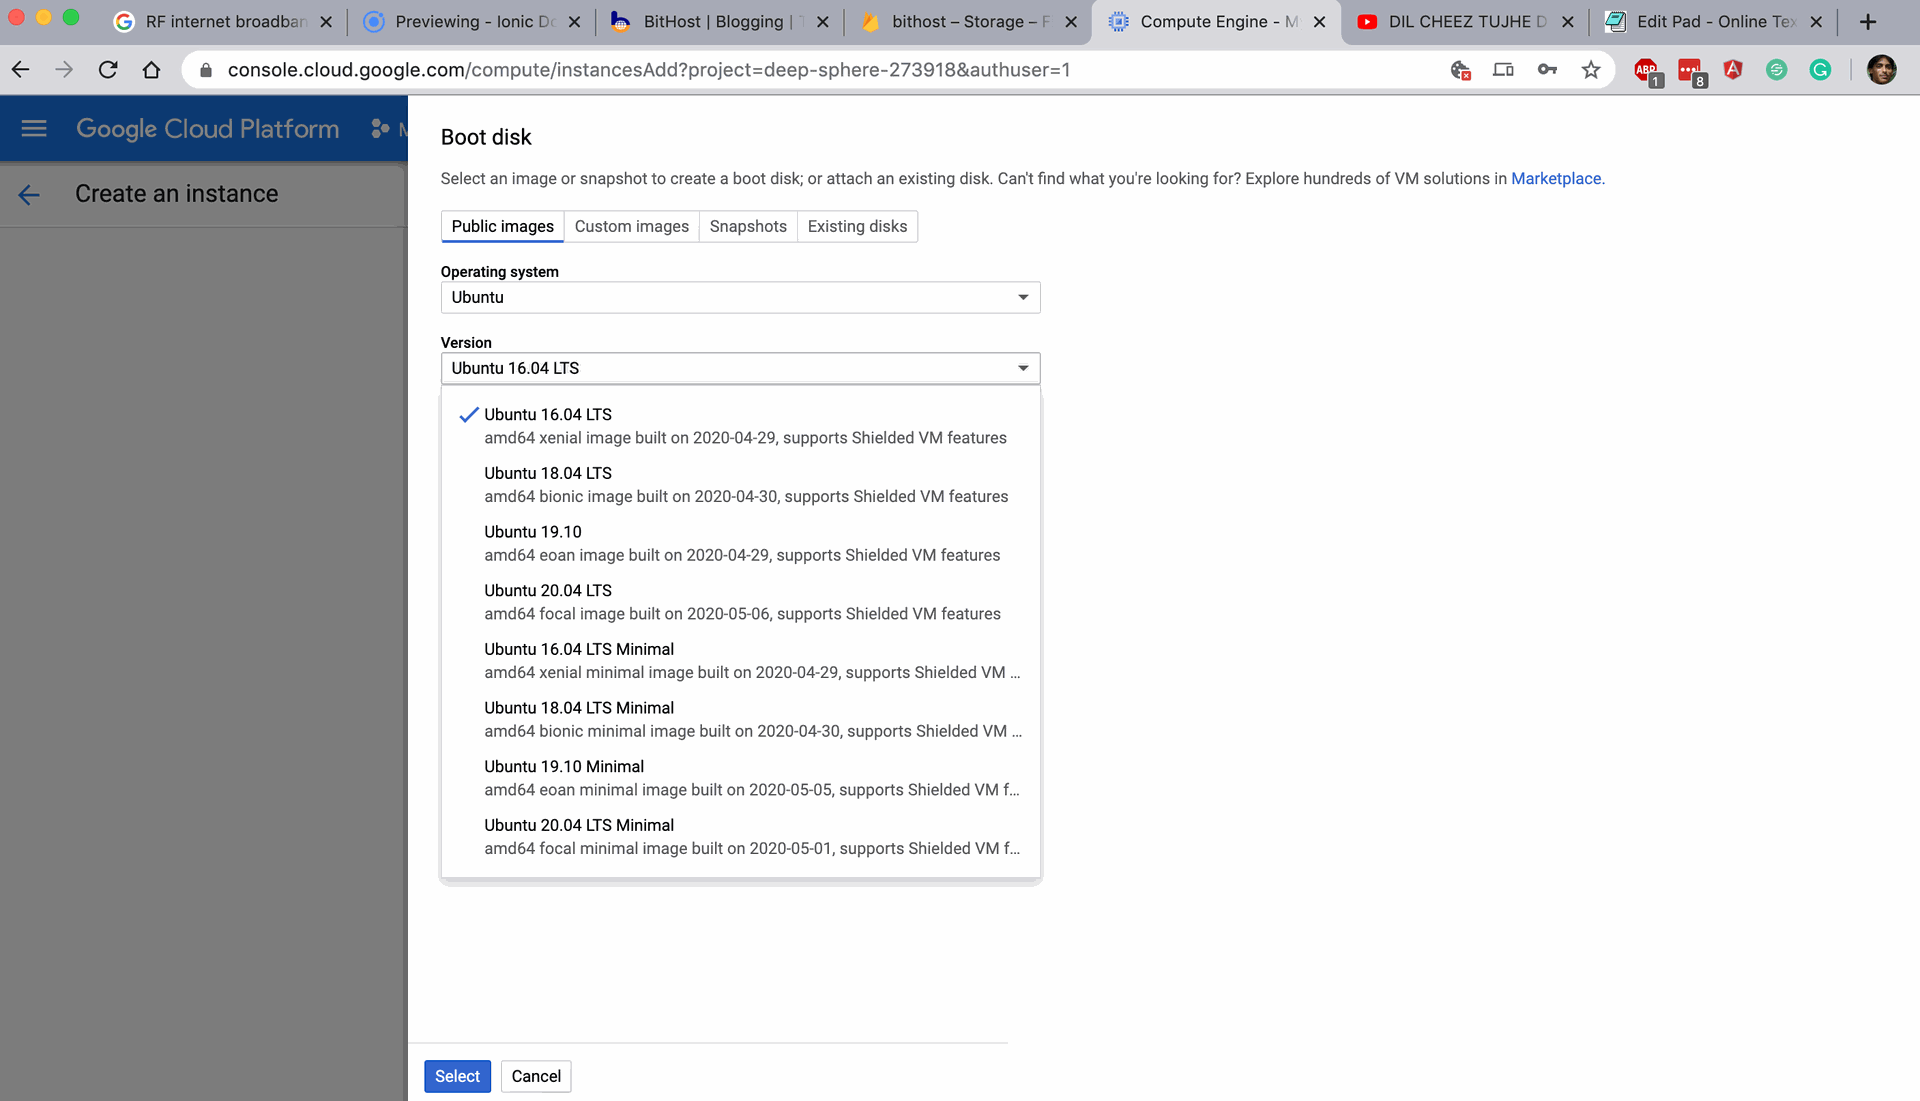
I am going to use here the Ubuntu 16.0.4 LTS.
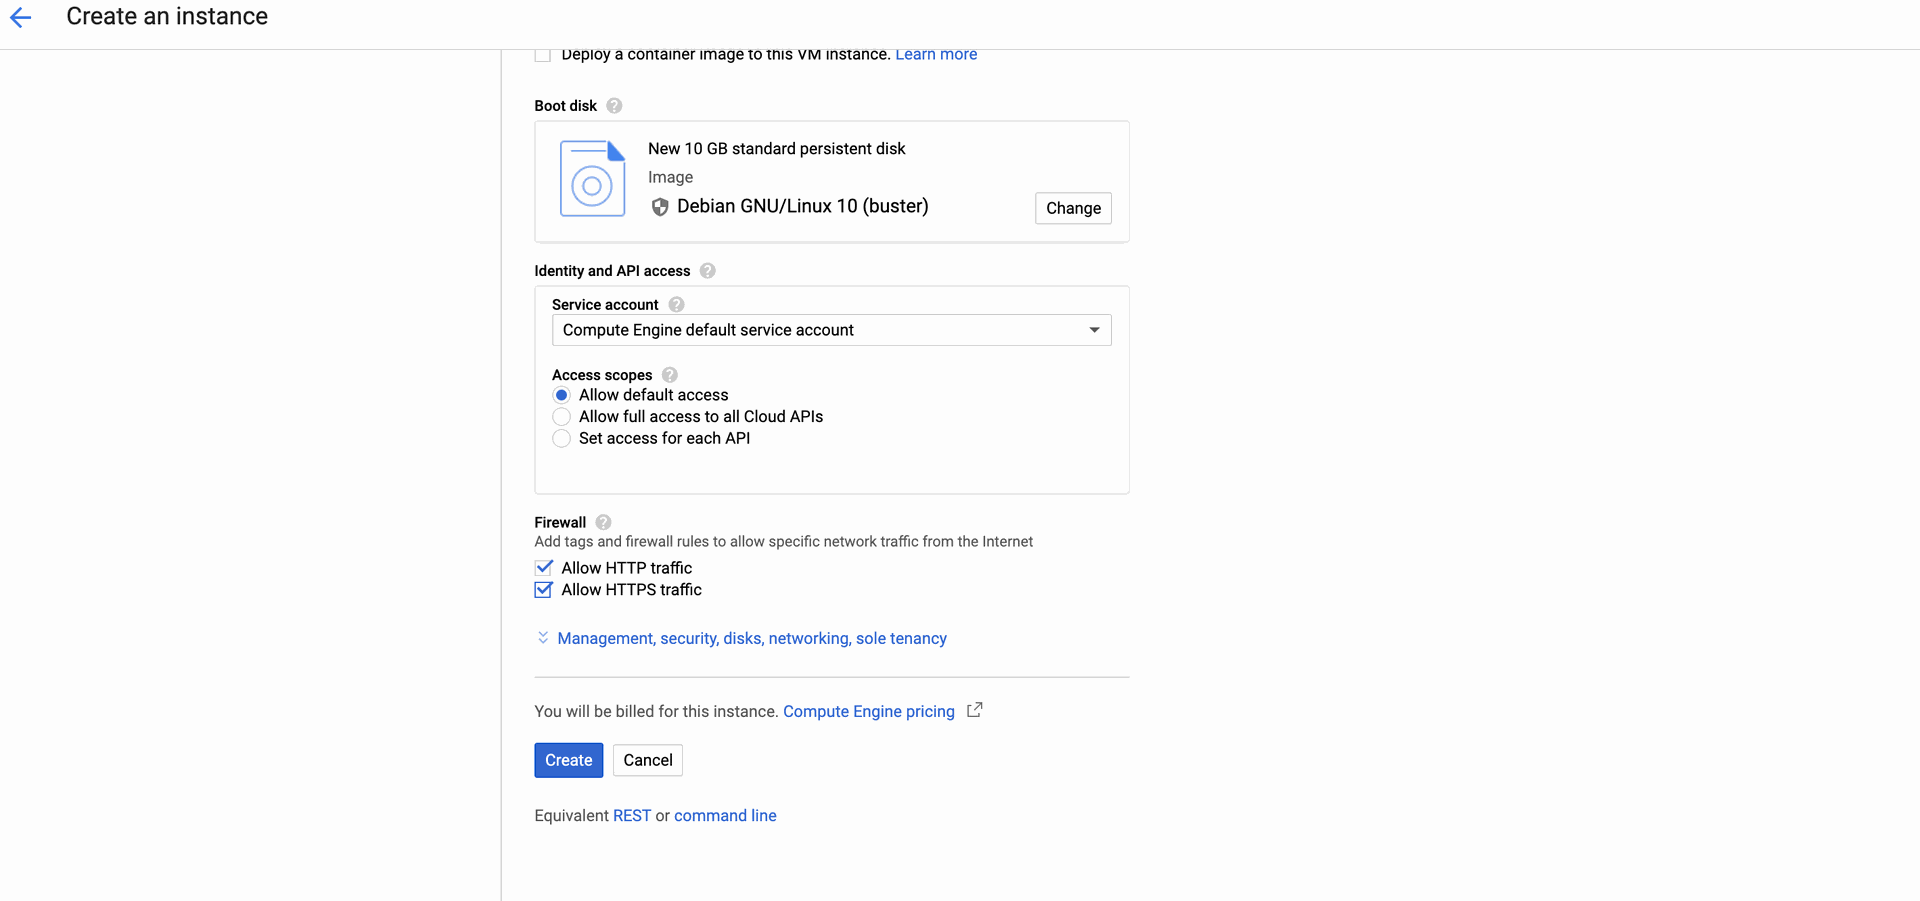
Check the HTTP & HTTPS access. You may use your own public key, otherwise google will use it's default public key to access your instance via SSH.
Now select the Boot OS and then click on create, it will take 1-2 minutes of time to create an cloud instance for you, and you are ready to go.
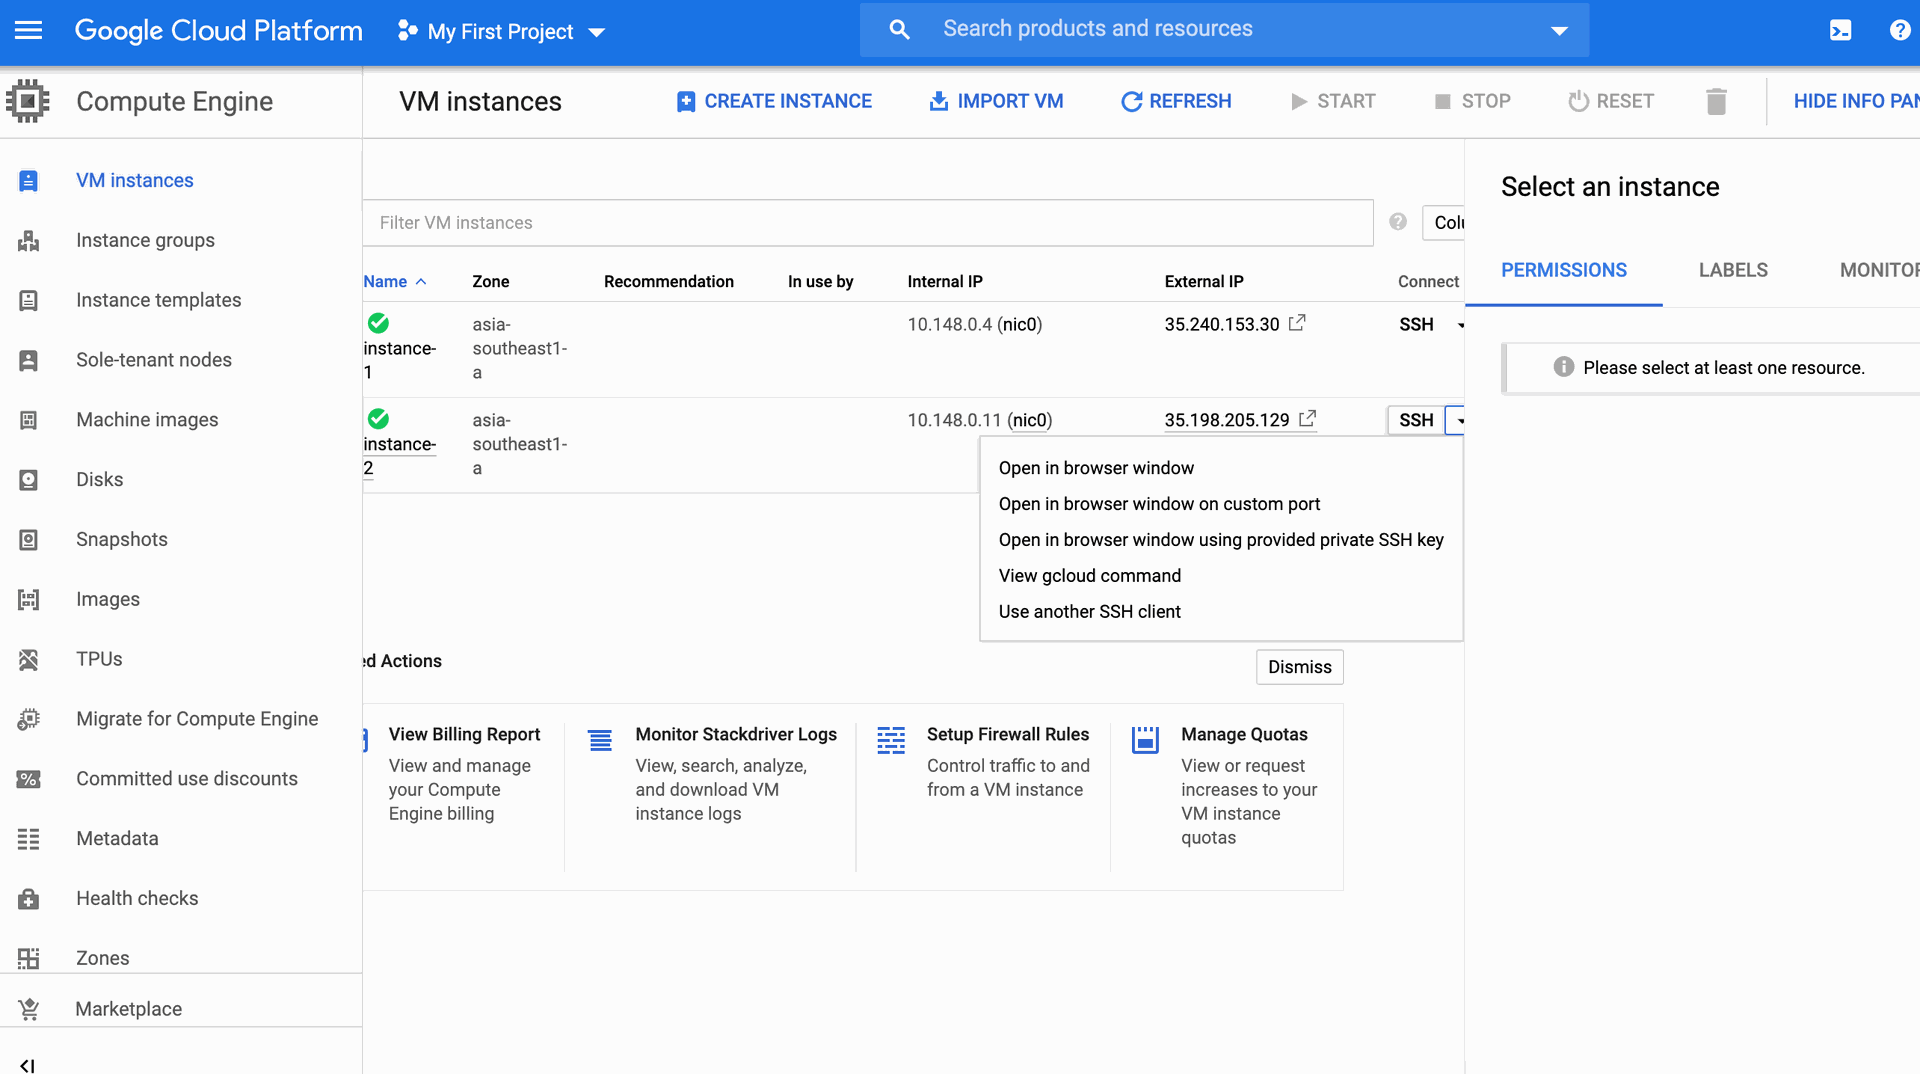
Click on the SSH access section to get the access via SSH of the newly created instance.
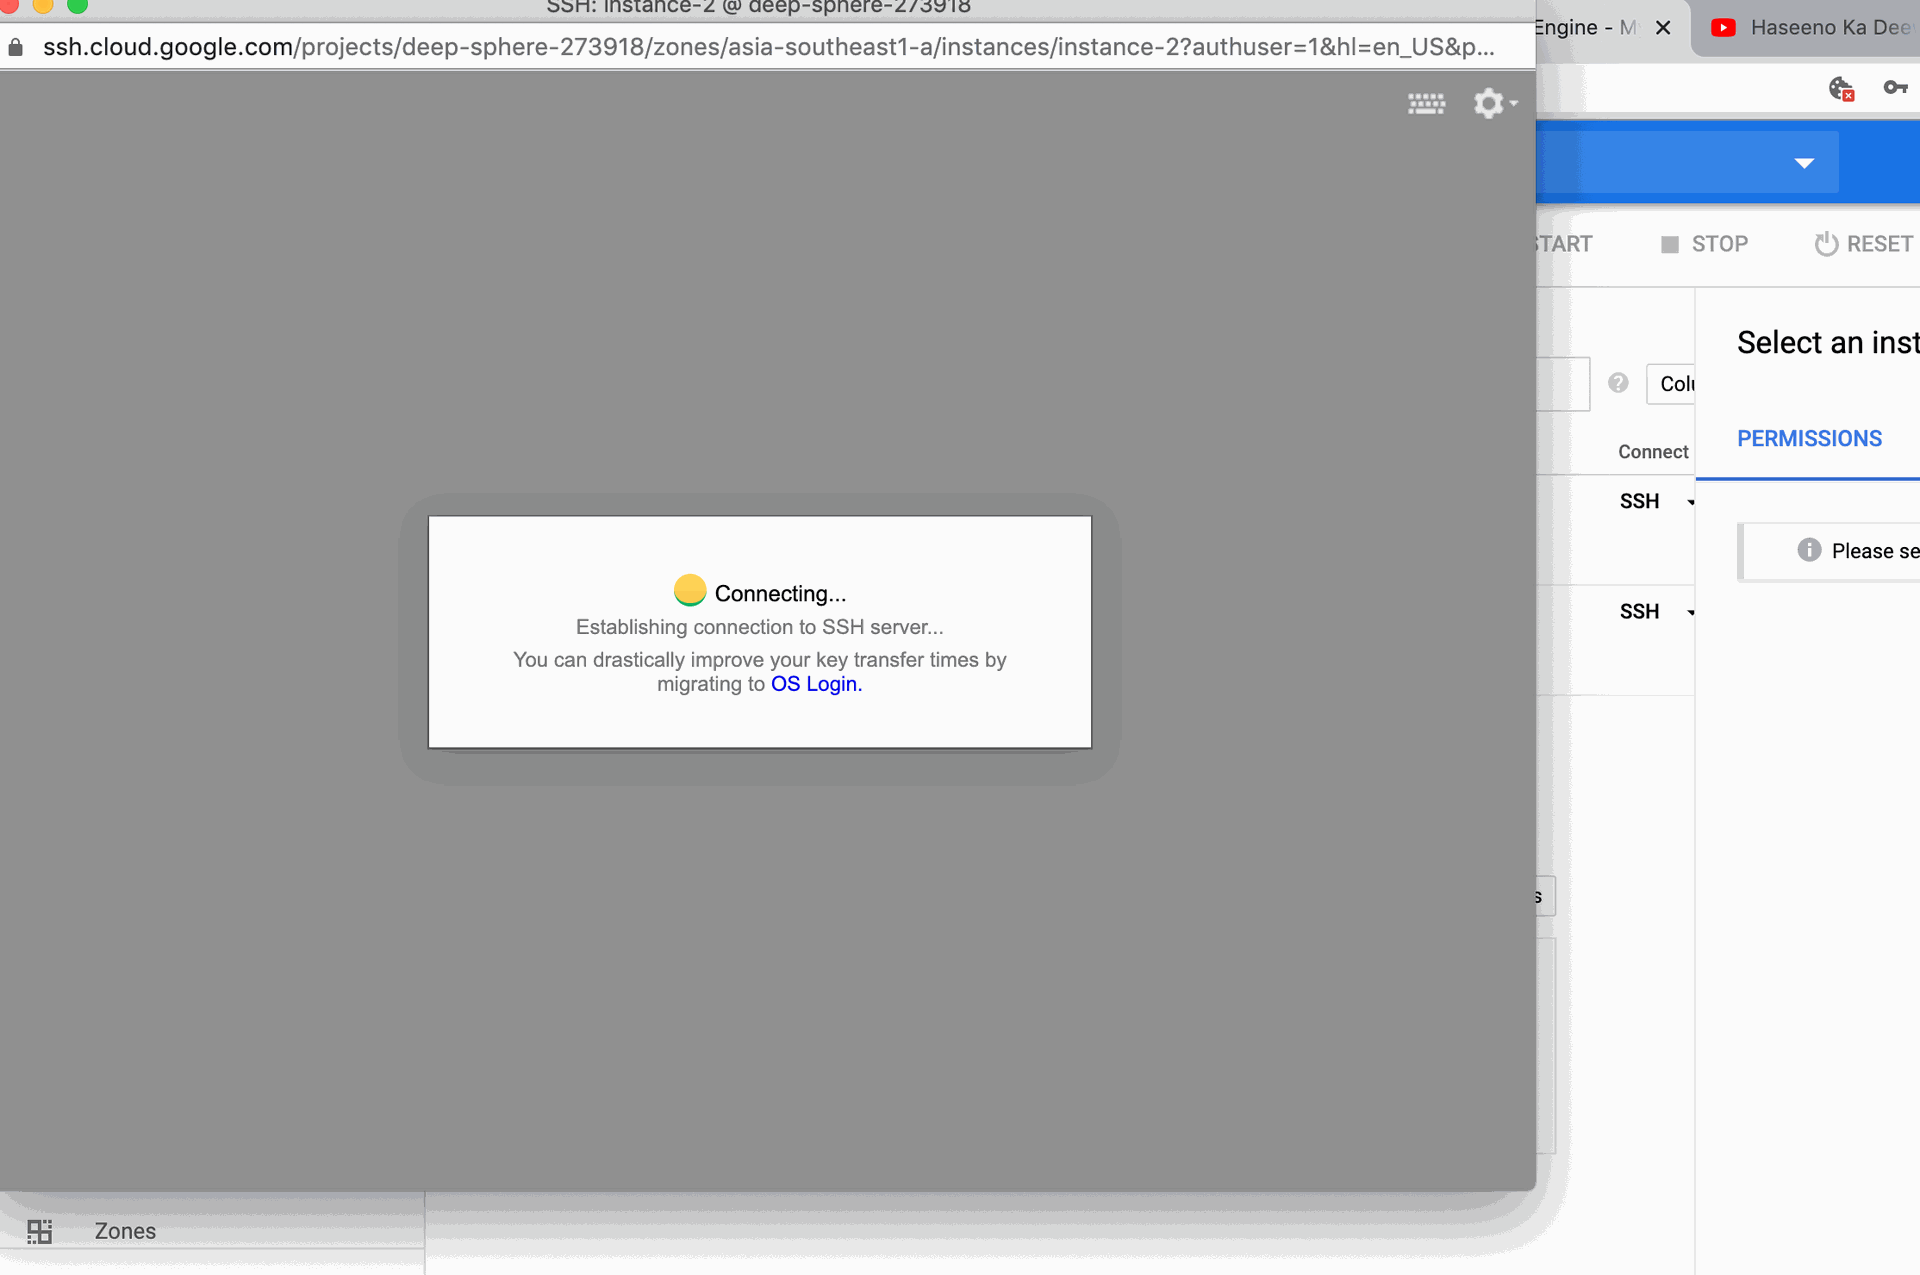
Now I am inside accessing the instance by SSH
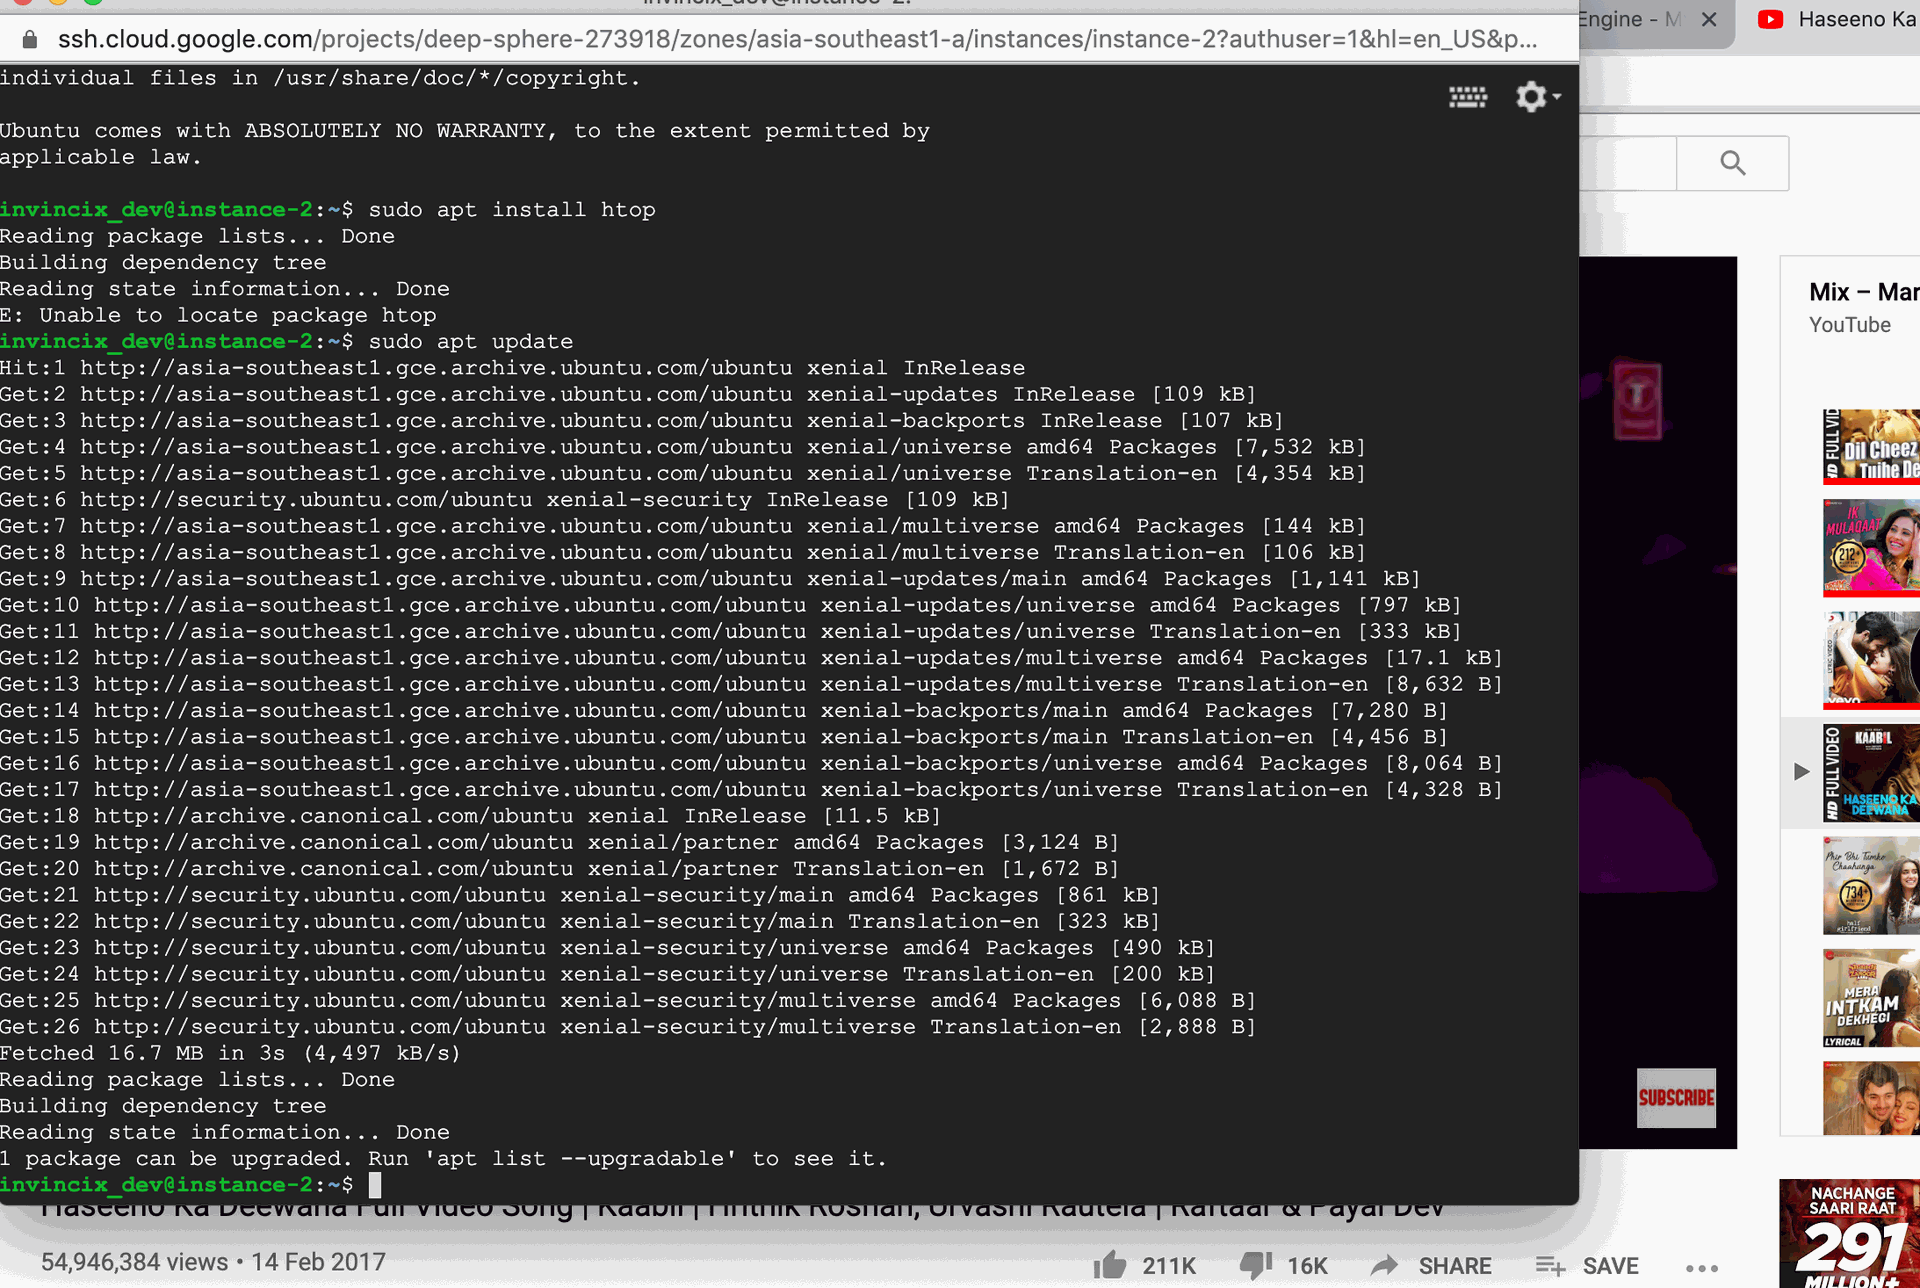
So, you are ready with a black & white (Terminal) cloud machine.
Now you are ready to do all your installs and move on.
I have installed nginx (My favorite one) web server to access it via HTTP in browser.
sudo apt update
sudo apt install nginx
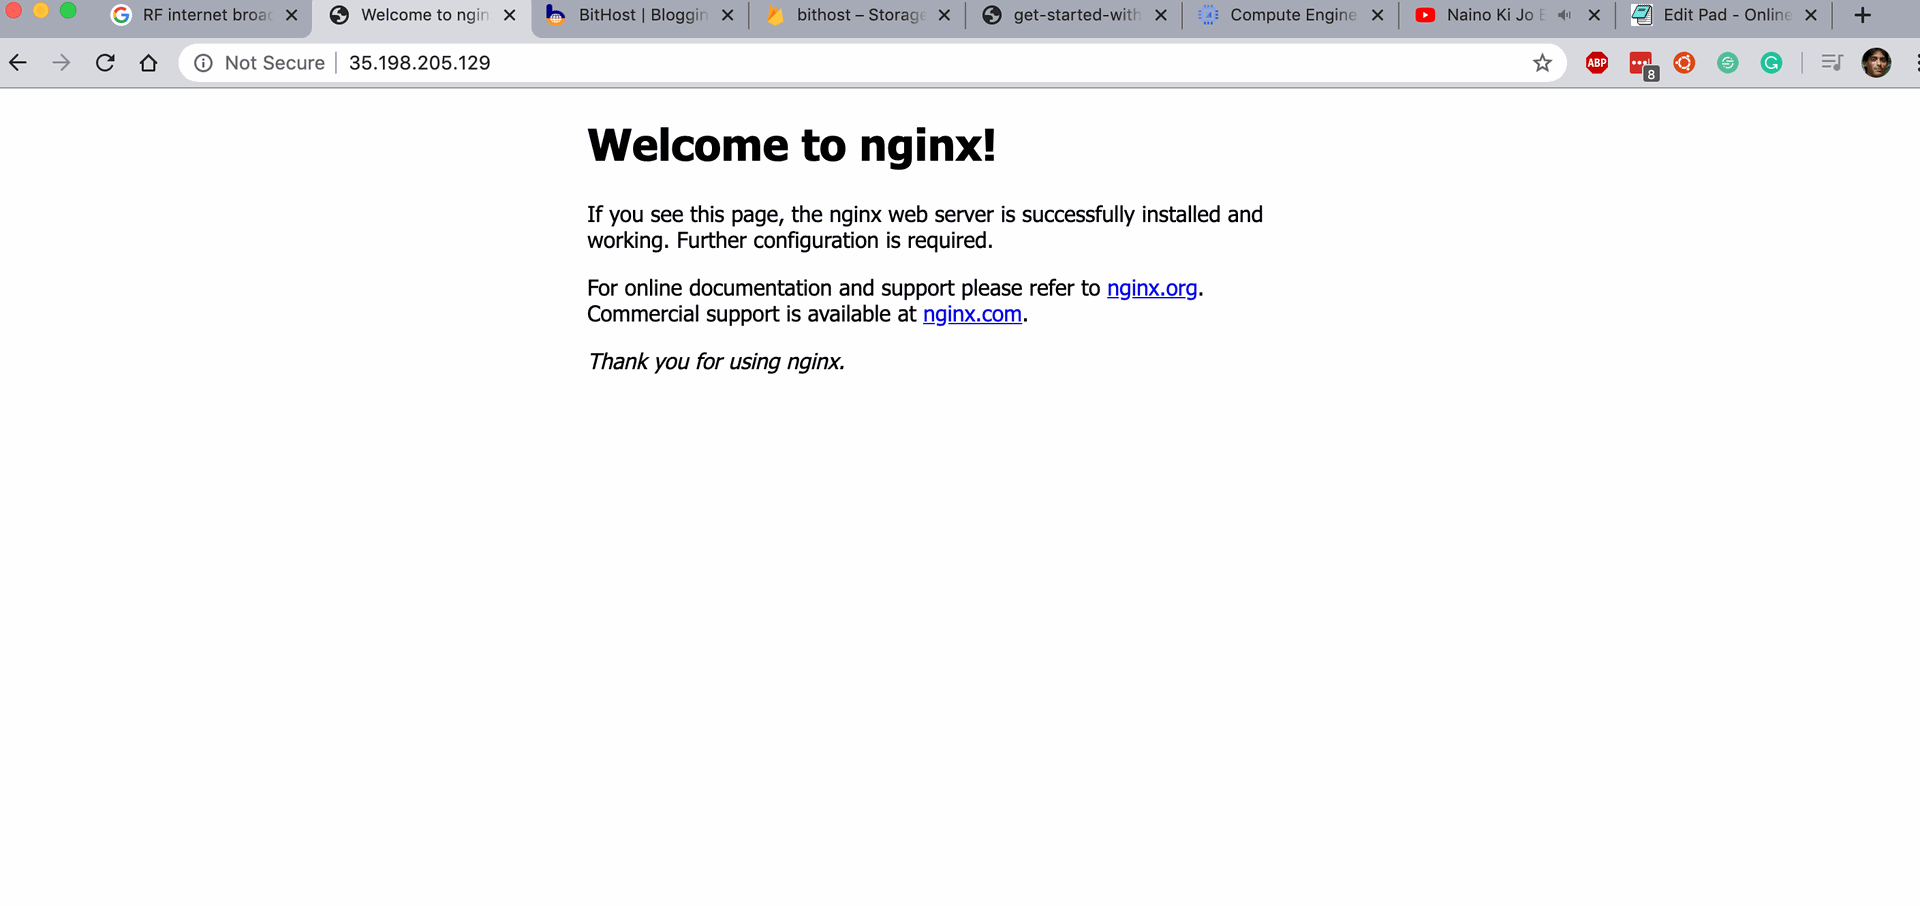
Now it installed nginx for me, and I am ready to access it, via web browser.
like, I have a public IP given during creation of the instance that you may call as External IP.
Assigning a static IP to the newly created instance
When you create an instance, you get a public IP attached to the instance, but the behavior of the IP is like dynamic IP only. It changes sometimes.
When you are going to point your domain name to the new instance, then you definitely need a static IP.
You are ready with a static IP now, and you can point your domain on this specific VM, and can play with the webservers, and other shared application.Navigate to the VPC Network >> External IP from the left panel of the Menu.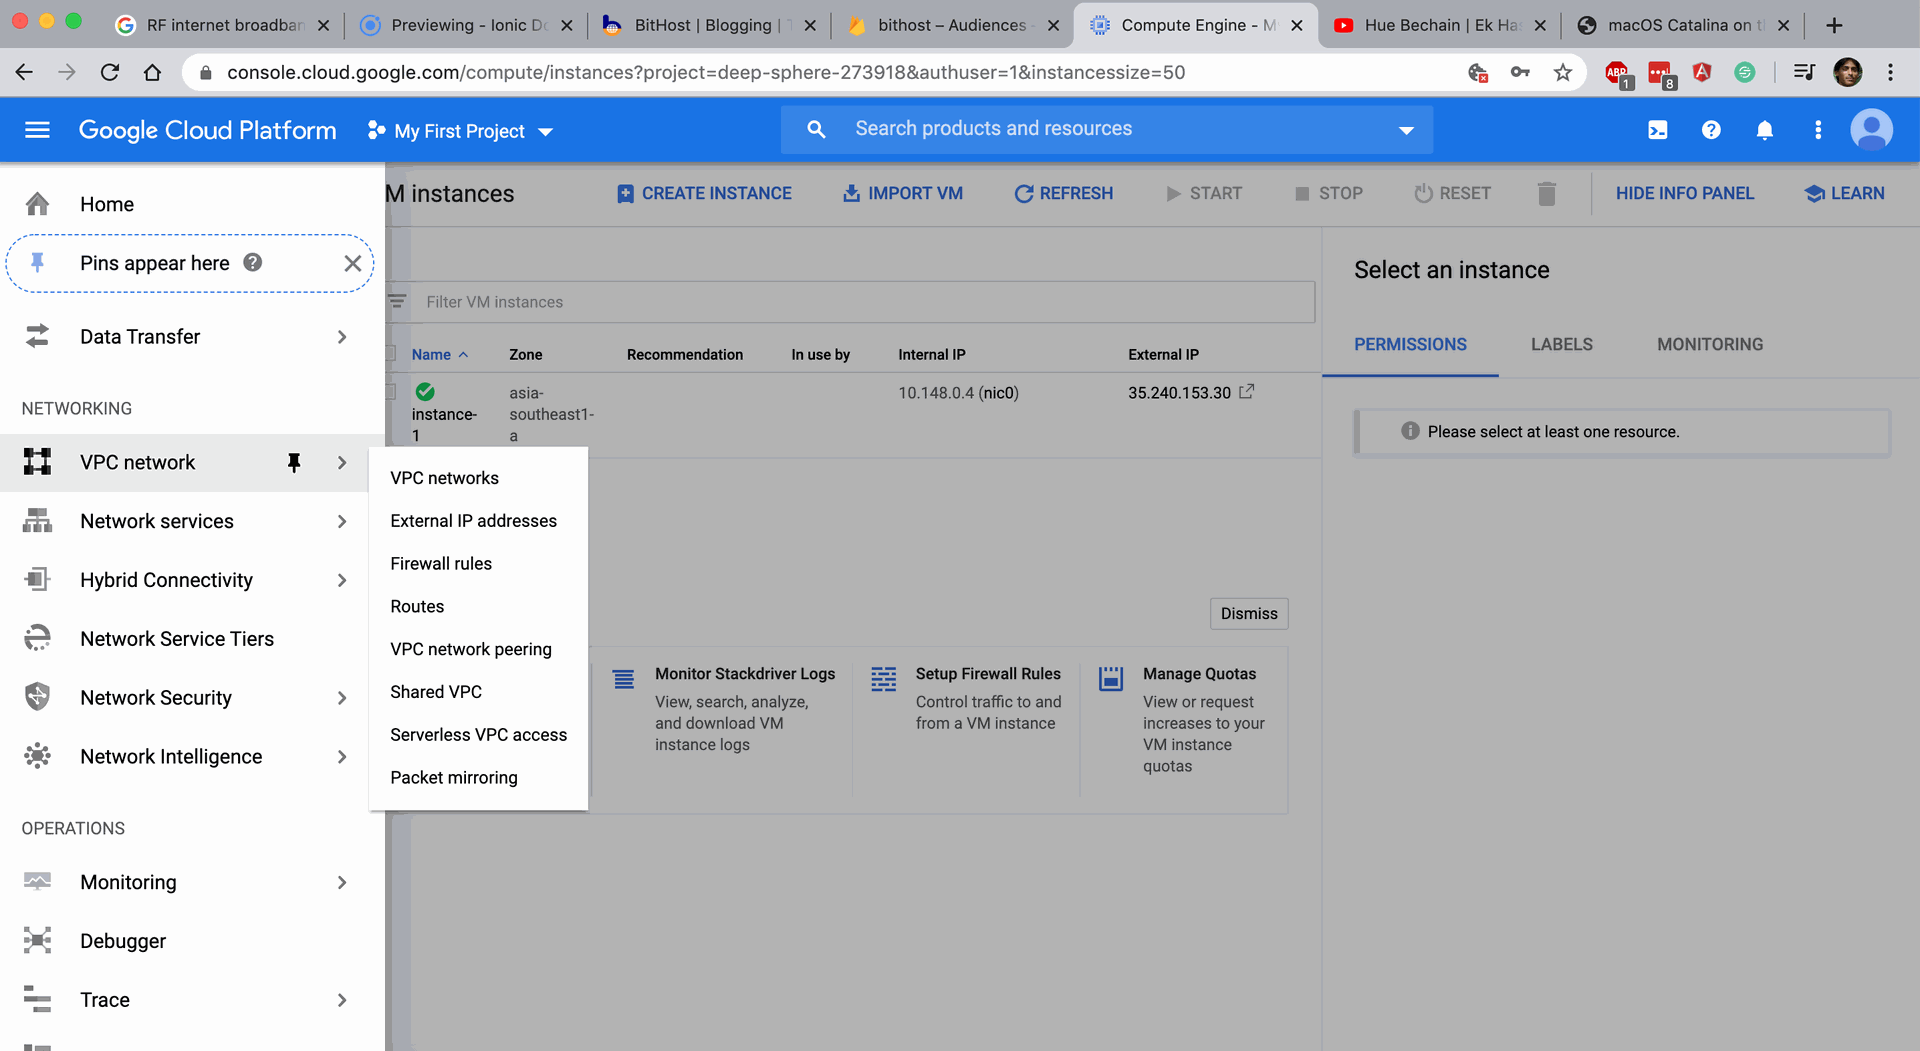
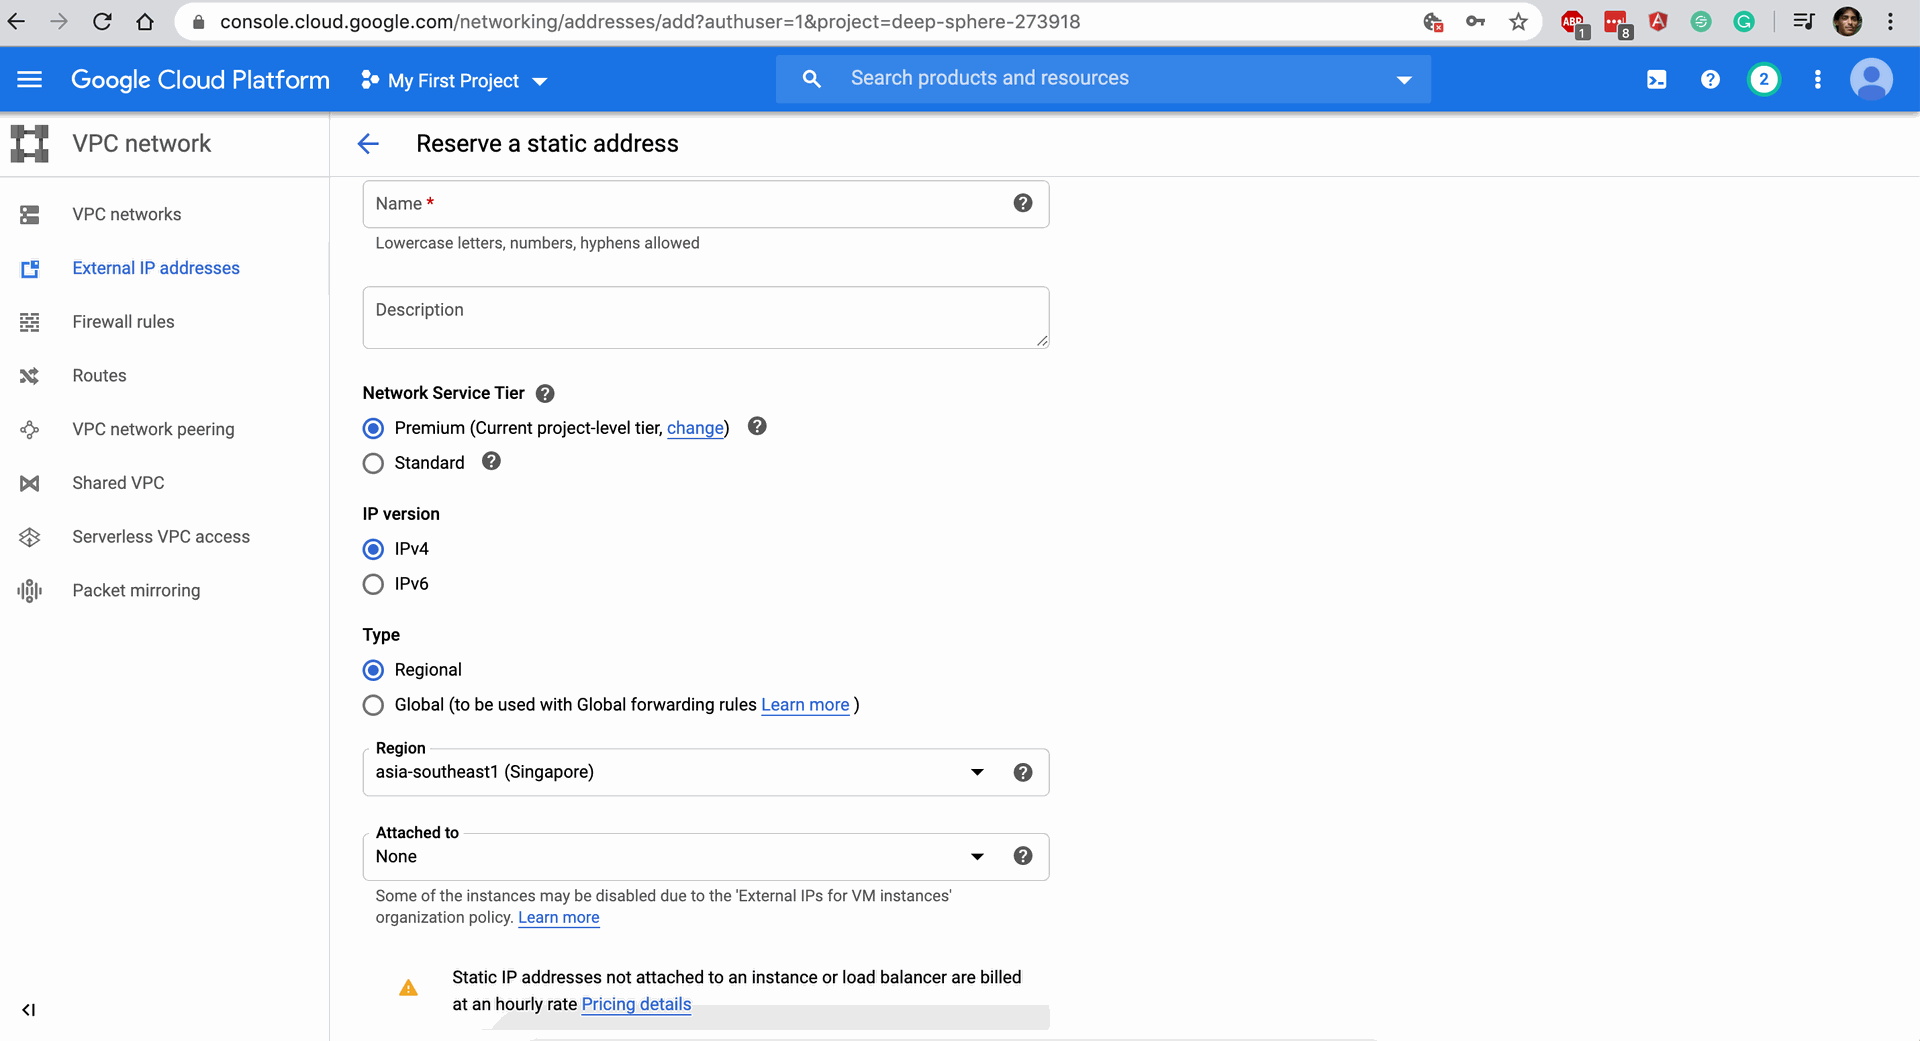
Fill the required fields and attach to the new instance from the near yello warning above.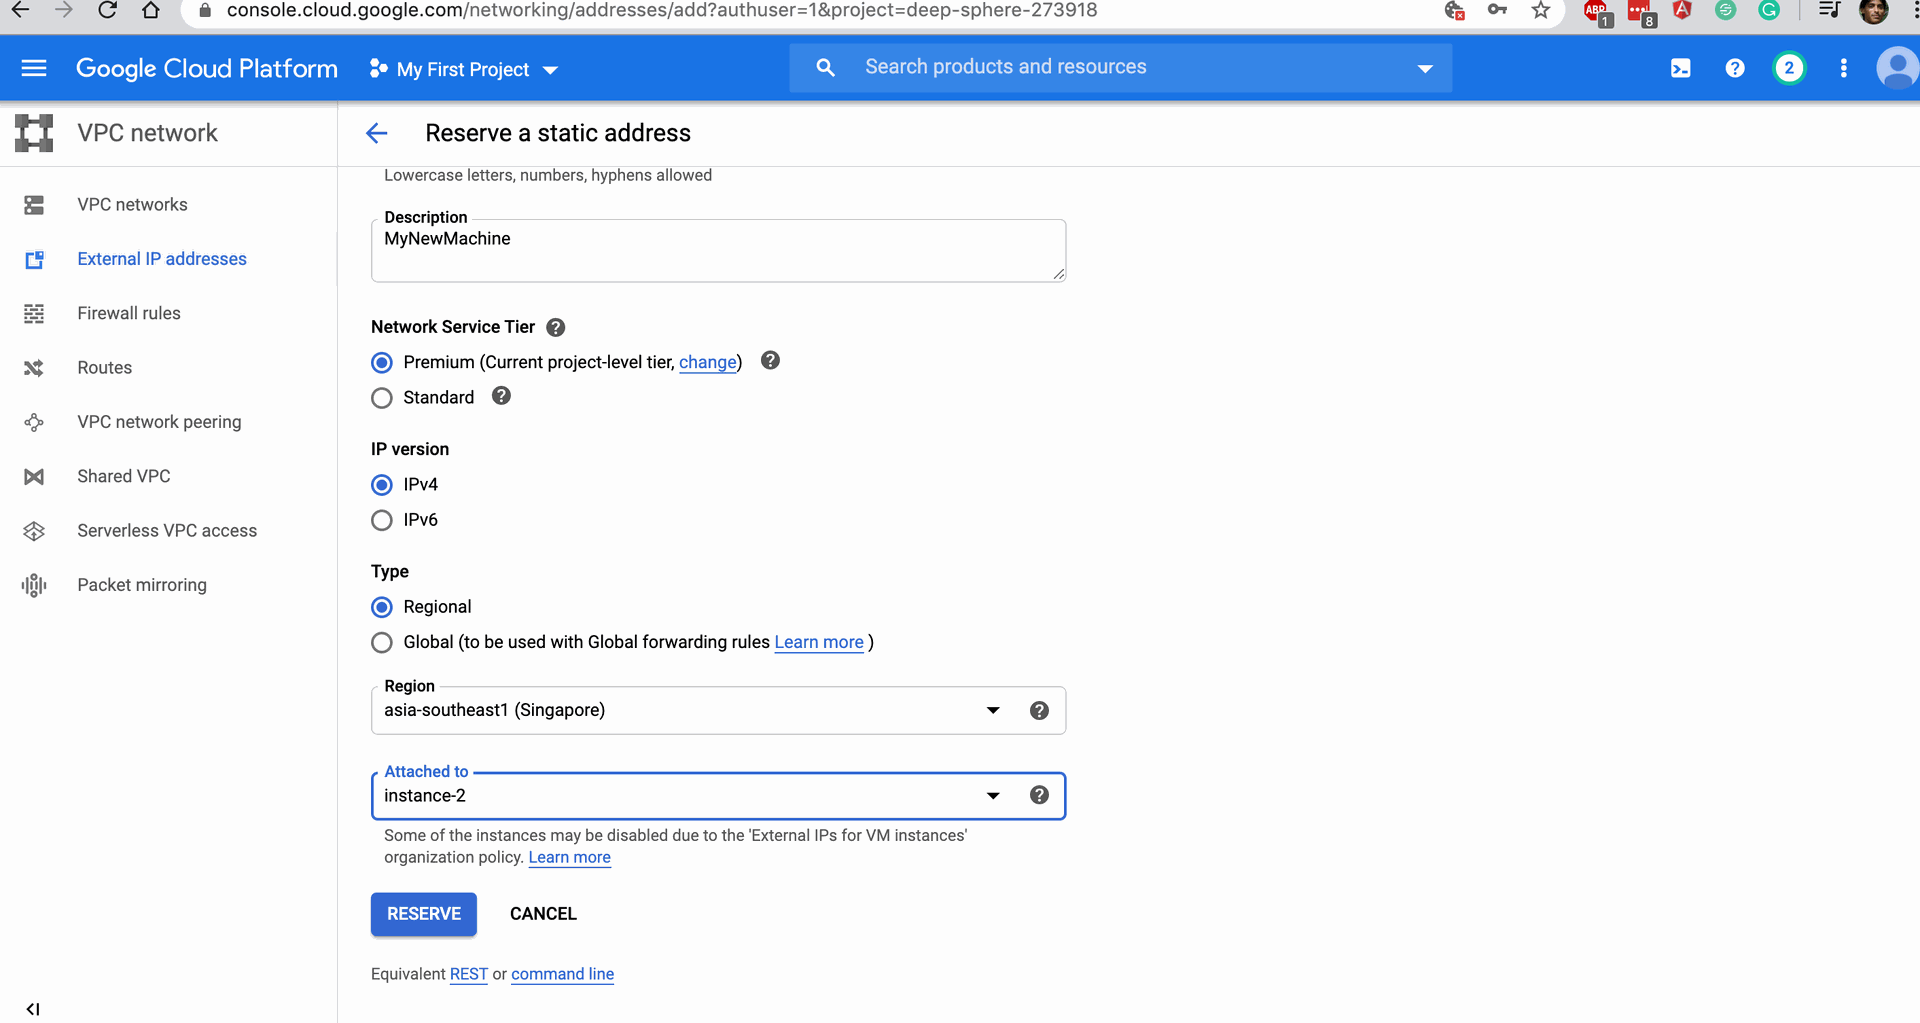
And reserve it.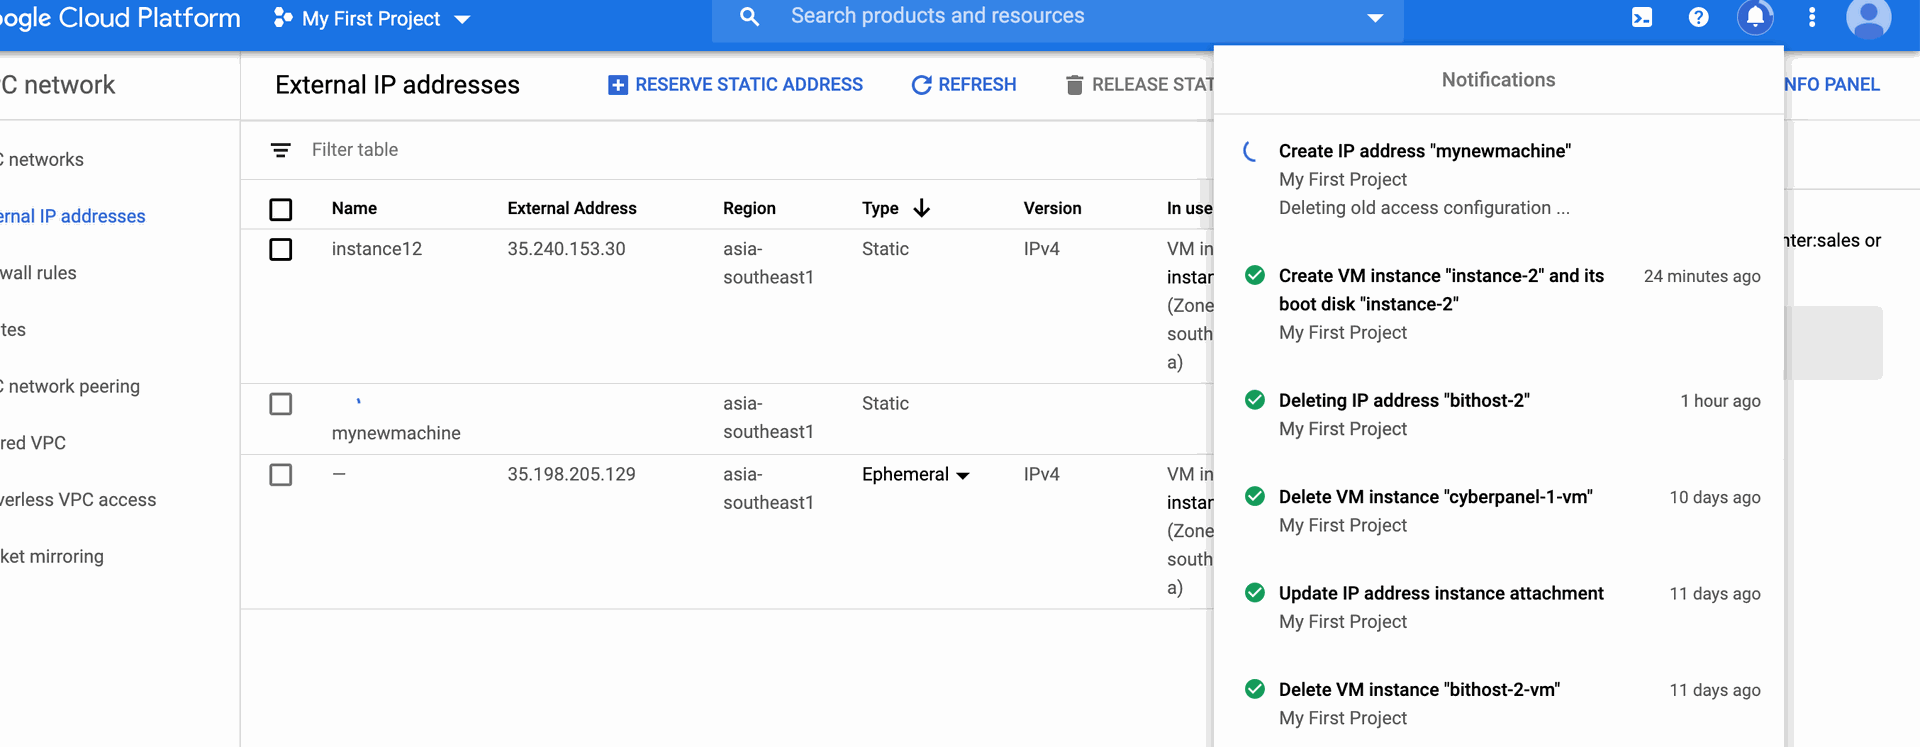
You are ready with a static IP now, and you can point your domain on this specific VM, and can play with the webservers, and other shared application.
:)

Creating an Instance in Google Cloud Compute Engine: Step-by-Step Guide